Cómo limpiar un grinder: los mejores métodos según el material (+ trucos para aprovechar la resina)

How to clean a grinder: the best methods according to material (+ tips for using the resin)

cogollocbd.es
How to clean a grinder


Keeping your grinder clean is important, but it can also be a real hassle. No matter how hard you scrub, there's always some resin left stuck. Or worse! You scrub too hard and break one of the prongs. It's normal, don't worry.

Cleaning a grinder might seem complicated, but it's really all about technique. Technique, and knowing the right methods for cleaning it based on the material it's made of.

That's why, in this article, we're going to explain in detail how to clean each type of grinder. Plus, we'll give you some extra tips to make the most of those valuable resin remnants so they don't go to waste.


Let's get to it.


➡️ Why it's important to know how to clean a grinder and how often you should do it

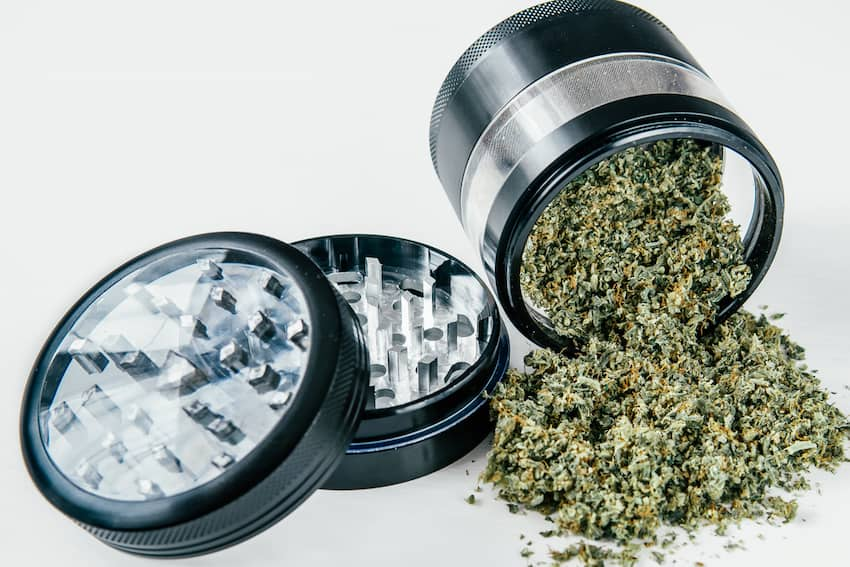
We've already told you in other articles what a grinder is, and we're sure you have one at home. A grinder is a shredder or crusher that allows us to grind buds before using them.

There are many types of grinders, and they differ by:

  • Their shape.
  • The number of pieces or compartments they have.
  • The material they are made of.

They are easy to get, and even to make (in fact, here we tell you how to make a homemade grinder with different materials).

The problem comes when it's time to clean them. If you don't know how to do it properly, it can become a really complicated task and get to the point where you're reluctant to do it.

But be careful! If you don't clean your grinder regularly, you could run into problems:

  • The grinder's lifespan is shortened: Resin accumulated on the prongs and edges makes it harder to turn, leading to significant wear that can cause it to break.
  • Mold and bacteria can accumulate: Buds are, after all, organic material. As such, over time, resin residue stuck in the grinder will begin to decompose.

That's why, depending on how often you use it, you should clean it every one or two months.


The longer you wait, the more the resin will stick and the harder it will be to clean thoroughly.


➡️ Techniques for cleaning your grinder based on its material

Before you get excited and start cleaning your grinder as if there were no tomorrow, you should also know that if you use an unsuitable cleaning material or chemical, you can permanently damage your tool.


So let's see how to clean it easily, depending on the type of grinder you have at home.


limpiar grinder

✅ 1. Metal or aluminum grinder

The best way to clean a metal grinder is with ethyl alcohol or ethanol.

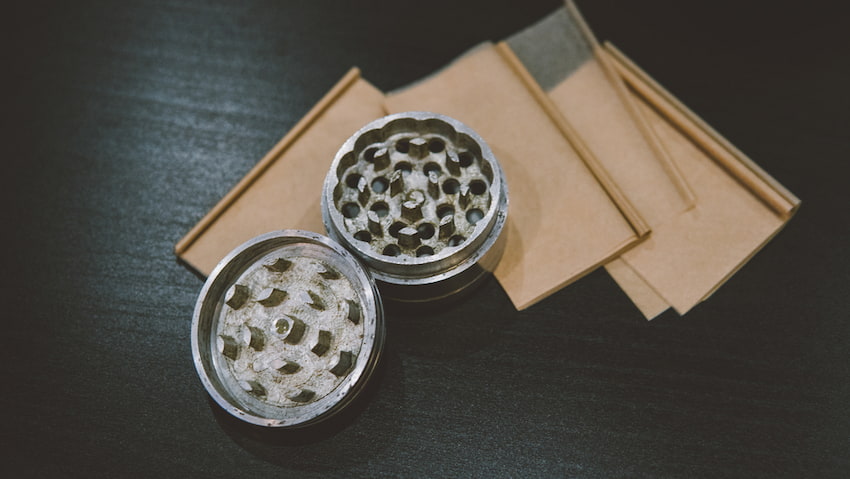
While this chemical can be very abrasive for other types of grinders (like plastic or wood), it is the most suitable for metal grinders, including card-shaped ones.

Here's how you should do it:

  1. First, clean the outside with a damp cloth with soap and water.
  2. Then, disassemble all the parts of the grinder.
  3. Submerge all parts in a container with alcohol.
  4. Let it soak for an hour.
  5. Remove all parts and clean any remaining resin with a toothbrush.

Dry all the parts of the grinder with a clean cloth and let it air out for a while until every last drop of alcohol evaporates.

If your grinder is not only dirty, but has also rusted and is hard to turn, you can clean it with Coca-Cola or a similar soft drink.


This serves to remove any rust that may have formed, but you'll need to clean it with alcohol afterwards so that no sugar remains stuck to the parts.


✅ 2. Plastic grinder

We know that plastic can release toxic substances if it comes into contact with solvents like alcohol, so it's best to use boiling water.

While boiling water doesn't dissolve the resin, it helps to soften it so we can extract it much more easily.

To do this:

  1. Put a pot of water on the stove.
  2. Once the water is boiling, put the disassembled grinder parts inside.
  3. Let it sit for about 5 minutes.
  4. Turn off the heat and remove the grinder parts from the water (carefully!).
  5. Let them cool until you can pick them up and scrub them with a toothbrush.
  6. Rinse them with water and let them dry.

While this method is the most suitable for cleaning a plastic grinder, do not apply it to other types of grinders.


Wood can deteriorate with boiling water, and a metal grinder can rust.


✅ 3. Wooden grinder

This is probably the most "delicate" grinder to clean.

That's why the best recommendation is to use the freezer method.

  1. Separate all parts of the grinder.
  2. Place them in the freezer for at least 6 hours (though it's best to leave them overnight).
  3. Remove all parts of the grinder from the freezer and place them on a piece of paper.
  4. Gently tap each part of the grinder on the table, and you'll see how the frozen resin detaches and starts to fall onto the paper.

If needed, you can use a toothbrush or a toothpick to gently scrape areas where the resin is very stuck and won't come off.

However, remember not to scrape too hard, as you could damage the wood.

The best thing about this method is that you can reuse this resin without any problems, and even make homemade hash with it.


✅ 4. Electric grinder

Cleaning an electric grinder can be more or less complicated, depending on the brand and the number of parts that make up the device.

Generally, the blades and the container where the buds go can be disassembled and soaked in alcohol. You can also clean the internal mechanism with a small brush so that accumulated resin doesn't impair its operation or electrical components.

These are general tips, but it's best to refer to the instruction manual for your electric grinder in these cases to see the manufacturer's specifications on how to clean it correctly.


como limpiar el grinder

➡️ 2 extra tricks to take advantage of every last bit of resin

If you want to take advantage of the resin stuck in the grinder and not "lose" it by dissolving it in alcohol or boiling water, you can always resort to the freezer method first.

That is, clean your metal or plastic grinder by first putting it in the freezer and removing the frozen resin. For this, you can use a small brush or a small poker, but always with great care not to scrape too hard.

Another popular method among cannabis enthusiasts to take advantage of stuck resin is to clean the grinder with milk.

As it is a fat-soluble material and milk contains fat, the cannabis dissolves in it.

And, of course, the milk can be used afterwards.

To apply this method, you must:

  1. Clean the outside of the grinder with a damp cloth with soap and water.
  2. Heat a saucepan of milk (preferably whole milk, not skimmed).
  3. Before it boils, put the disassembled grinder into the milk.
  4. Let it rest for about 10 minutes.

After this time, the resin will detach and dissolve in the milk.

Finally, after removing all parts of the grinder from the milk, you should clean it using one of the methods we saw above, depending on the material it is made of.


➡️ Now you know how to clean a grinder thoroughly

Aside from the deep cleaning you should do every one or two months, it's important to regularly (every week, or even every time you use it) clean your grinder with a cotton swab or a small brush.

This way, you'll prevent resin from accumulating and deep cleaning will be much easier. This will keep your grinder always ready to grind your buds. ;)

Buds that, of course, you can buy by visiting our catalog. Do you have any questions? You can leave them in the comments; we'd love to hear from you.

Be CBD, my friend.

Did you like this article?

Subscribe to our newsletter and receive exclusive CBD content directly in your email

First time with CBD?

Discover our beginner's guide

See Quick Start Guide